The shape of the flow
Three moments in time, days or weeks apart:
- Take the order at the booth. Capture customer info, agree on total price and deposit, ring the deposit as a sale. Customer leaves having paid the deposit.
- Make the piece (or do the work) at home. Mark status as you go (Ordered → In Progress → Ready). Email or text the customer when it's done.
- Customer comes back, pays the balance. Tap their order in the Custom tab → Take balance payment. They pay the remainder, status auto-updates to Delivered. Done.
Tax handling: tax is computed on the deposit when the deposit is paid, and again on the balance when the balance is paid. The two add up to the correct full tax on the total price.
Step 1: Take the deposit at the booth
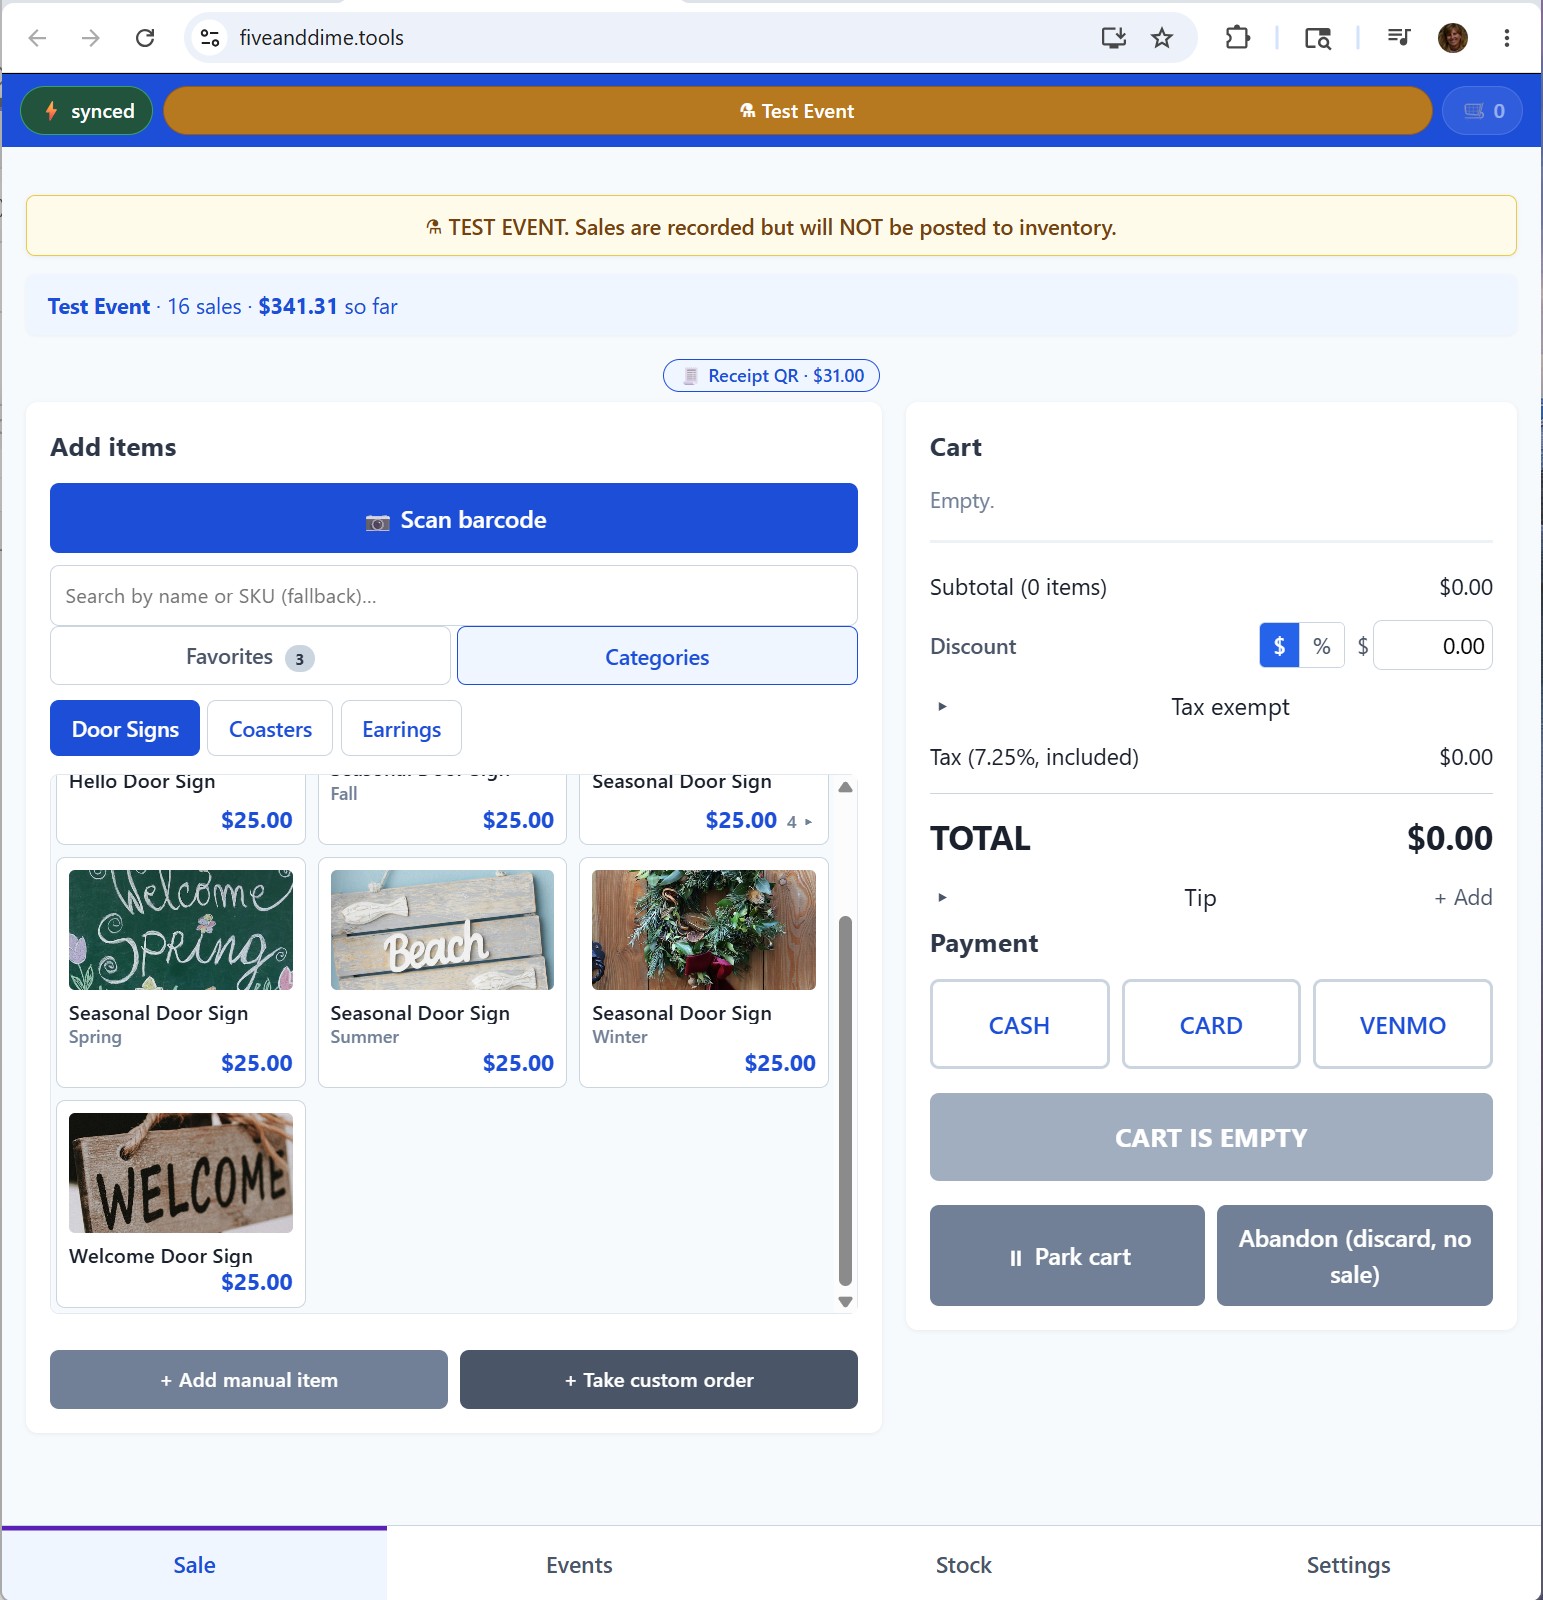
Tap "Take custom order"
In the Sale view, next to the items grid, the + Take custom order button opens the custom-order modal.
Fill in the form
The modal captures everything you need:
- Customer name. Required. How you'll address the customer in any follow-up.
- Email or phone. At least one is required (you need a way to reach them when the piece is ready). Both is better; some customers prefer SMS, some prefer email.
- Description. What they want. Be specific enough that you'll remember the details later: "Wedding gift sign, 18×24, names 'Sarah & Tom', date June 15, walnut stain."
- Total price. What they'll pay all in (tax-inclusive, same as your regular prices).
- Deposit. What they pay today. Defaults to 50% of total (configurable in Settings as
DEFAULT_DEPOSIT_PCT). Override as you like. - Due date. Optional but useful. When you plan to have it ready, or when the customer needs it (Christmas, a wedding, etc.).

Tap Add, and the deposit lands in the cart
The deposit shows up as a regular cart line, tagged with a small "deposit" badge so you (and the customer) can see what it represents. You can add other items to the same cart if the customer is also buying ready-made things, or just complete the sale as deposit-only.
Take payment and complete
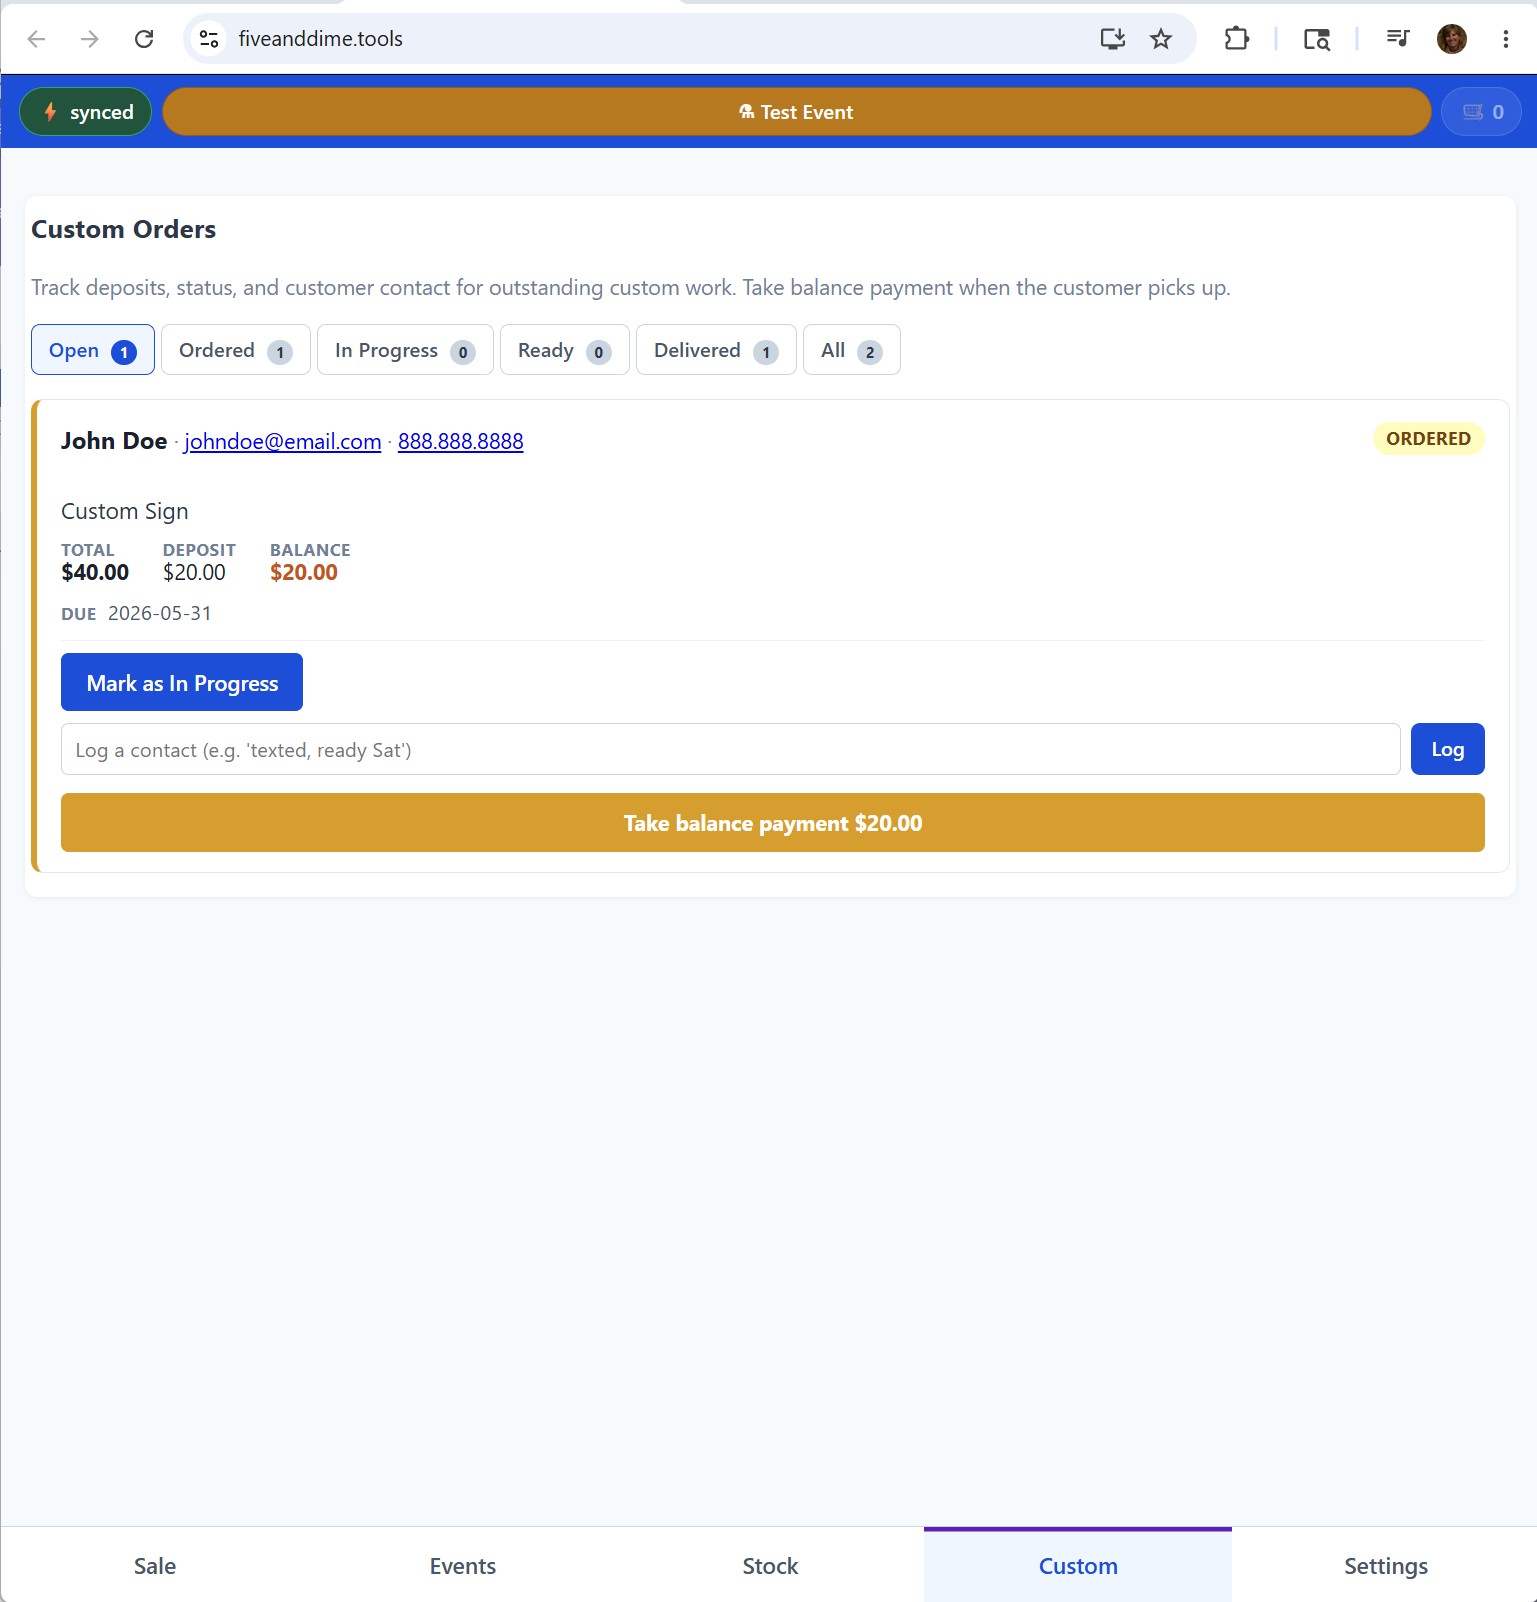
Pick the payment method, tap Complete sale. The deposit is recorded as a sale; the order shows up immediately in the Custom tab on the bottom nav, with status "Ordered."
The customer's receipt shows the deposit, the balance owed, and a note that the balance is due at pickup. They take that with them as proof of order.
Step 2: Track progress at home
The bottom nav grows a new tab, Custom, whenever there's at least one open custom order. The tab disappears when everything's wrapped up.
Open the Custom tab
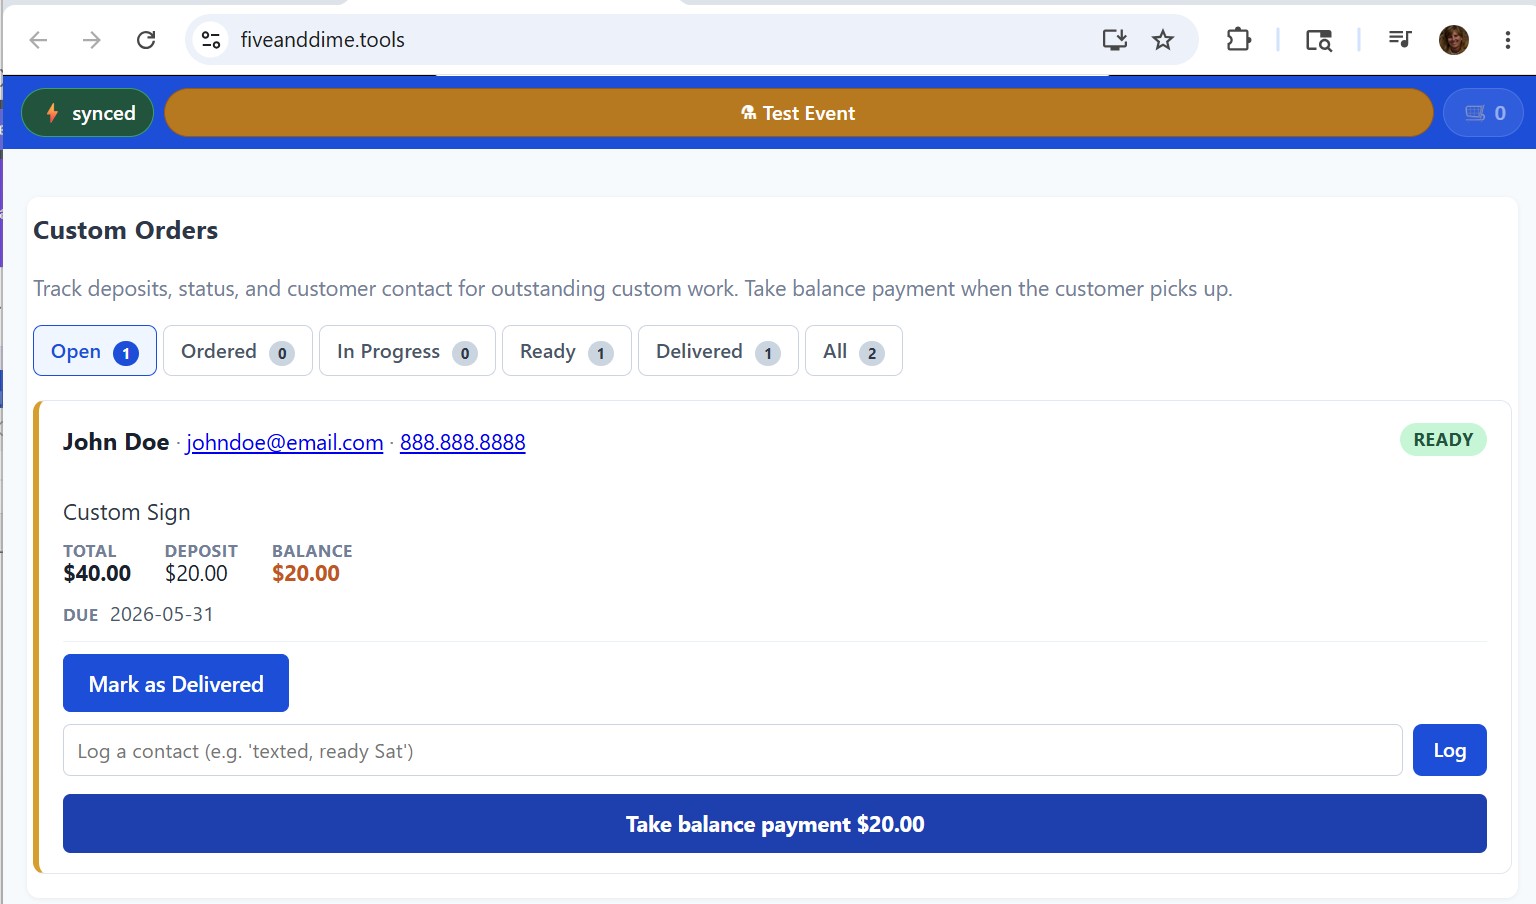
Tap Custom. You'll see a filter strip at the top (Open / Ordered / In Progress / Ready / Delivered / All) and a list of orders below, sorted by due date for open ones, by recency for delivered ones. Each row shows the customer name, description, status badge, total, deposit paid, balance owed, due date.
March the status as you work
Each order has a "Mark as [next status]" button. The status lifecycle:
- Ordered. Deposit paid, you haven't started yet. Default after the deposit sale.
- In Progress. You're working on it. Mark this when you actually start cutting wood, mixing dye, whatever.
- Ready. The piece is done and waiting for pickup. This is the moment you email or text the customer.
- Delivered. Balance paid, customer has the piece. Auto-set when you take the balance payment.
You can also skip a status (Ordered straight to Ready) by tapping the status button twice. Most vendors mark "In Progress" the day they start and "Ready" the day they finish.
Notify the customer when it's Ready
Two ways: manual (the default) or automatic.
Manual. The order detail page shows the customer's email and phone. Copy the address into your normal email client (or SMS), write the note ("Hi Sarah, your sign is finished, come by next time you see us"), send. Log the contact in the order's notes if you want a record.
Automatic email (opt-in). fiveanddime can also send the email for you the moment you mark an order Ready. To enable, open Settings → Custom orders in the app, check Auto-email the customer when I mark their custom order Ready, and tap Save.
The first time fiveanddime sends, Google prompts you to re-authorize the script with email-sending permission; accept. The customer must have an email on file (CustomerEmail in the order) for auto-email to fire.
The default email reads:
- Subject: "Your custom order is ready for pickup"
- Body: "Hi {{customerName}}, your custom order is ready for pickup! Order details: {{description}}. Reply to this email or stop by next time you see us to arrange pickup. Thanks, {{vendorName}}"
To customize either, fill in the Email subject (when Ready) and Email body (when Ready) fields in the same Settings → Custom orders section and tap Save. Both support the placeholders {{customerName}}, {{description}}, and {{vendorName}} (vendor name pulls from your Business identity setting, written under the canonical key BizName).
The email is sent from the Google account that owns your Apps Script deployment, which is the address you used when you set up your fiveanddime backend. That's the email customers see as the sender, and any replies land in that inbox. Make sure you actually check that inbox, or forward it to one you do read. Customers expecting a reply to your business email may be confused if the address is, say, your personal Gmail.
Step 3: Take the balance payment
Find the order
Customer returns to the booth (or your shop, or you meet them somewhere). Open the Custom tab, find their order in the Ready filter, tap to expand.
Tap "Take balance payment"
The button loads a fresh cart with a balance-payment line: the remaining amount they owe, with the correct tax computed on just that remainder. Pick the payment method, tap Complete sale.
Behind the scenes, the order's status flips to Delivered, the BalancePaidAt date stamps, and the cart's tax adds correctly across the deposit (already paid) and balance (paid now). Total tax on the order ends up matching what tax would have been on the full price.
How tax splits across deposit and balance
Custom sign at $100 total. 50% deposit ($50). Tax rate 7%.
At booth (deposit): customer pays $50 plus tax on the $50 they're paying today. Tax = $50 × 7% / 1.07 = ~$3.27 (because prices are tax-inclusive). Customer pays $50.00 total at the booth.
At balance: customer pays the remaining $50, tax computed on $50 = ~$3.27.
Total tax across the order: $3.27 + $3.27 = $6.54, which matches what tax would have been on the $100 total if paid all at once. The math works either way; you don't have to do anything special.
Common questions
You keep the deposit (it was non-refundable, right?) and you keep the unsold piece (which you can sell at the next event as a finished product). The Custom tab just sits there with the order in Ready status indefinitely. Move it to Delivered manually if you want a clean tab, or leave it as a reminder.
For small changes (different stain, different size), just update your notes in the order's description and proceed. For changes that affect price, do it manually: take an additional payment if the new total is higher (manual item in a regular sale), or skip a portion of the balance if lower. fiveanddime doesn't auto-adjust the original deposit math.
Fine. The deposit's payment method is locked in (Cash, Card, Venmo, whatever you picked at the booth). The balance can use any method when they come back. Both get recorded.
The 50% default lives in Settings → Custom orders (canonical key DEFAULT_DEPOSIT_PCT). Change it to whatever you actually charge (30%, 75%, 100%, etc.) and tap Save. Affects only the pre-filled value in the form; you can always override per-order.