Three flavors, same mechanic
fiveanddime supports three QR-to-form integrations out of the box:
- Product requests. For customers who want to tell you about a product they wish you had — could be a restock of something you currently sell, or a brand-new item you don't yet make. Setting key:
PRODUCT_REQUEST_FORM_URL. - Mailing list. General "stay in touch" signups for newsletters, event reminders, "I'll be at the next fair" announcements. Setting key:
MAILING_LIST_FORM_URL. - Custom order requests. For customers who want to ask about a one-of-a-kind piece. They describe what they're after, share contact info and a budget, you decide whether to take it on. Different from the in-app Custom Orders flow: that's where you record an accepted order and take a deposit. This form is the lead-capture step that comes before. Setting key:
CUSTOM_ORDER_FORM_URL.
All three work the same way mechanically. You can hook up one, two, or all three. The form's actual content (fields, branching, design) is entirely up to you; fiveanddime just hands customers a QR pointing at whatever form URL you provide.
Custom order forms work outside an event too: copy the URL and paste it into an email or text when someone DMs you asking about a commission. They fill it out on their own time, you get the details in one place instead of a back-and-forth message thread.
The easy path: one menu click
If you've never built a Google Form before, don't. fiveanddime can create both forms for you with a reasonable set of fields already in place, link the responses to your spreadsheet, and save the URLs to Settings automatically. Three clicks per form, no setup knowledge needed.
Open the right panel
In your spreadsheet, click the fiveanddime menu (top of the screen, between Extensions and Help). Pick one of:
- Product requests… to set up the product-request form,
- Mailing list… to set up the email-list signup form, or
- Custom order requests… to set up the custom-order inquiry form.
A small panel opens with two buttons.
Tap "Create/Update Form" and approve permissions
The first time you do this, Google will pop a permissions dialog asking for access to Forms and Drive (the script needs to create a form and link its responses to your spreadsheet). Click Advanced → Go to your project (unsafe) → Allow. The "unsafe" label is Google's default for any script you wrote yourself; it just means Google hasn't independently verified it, which is fine for a script that lives in your own account.
The script builds the form, links responses to your spreadsheet, and writes the published URL to your Settings tab. A confirmation alert shows the URL.
Pull from Backend Now, then verify the QR
In the fiveanddime app, Settings → Pull from Backend Now. This loads the new URL to the device.
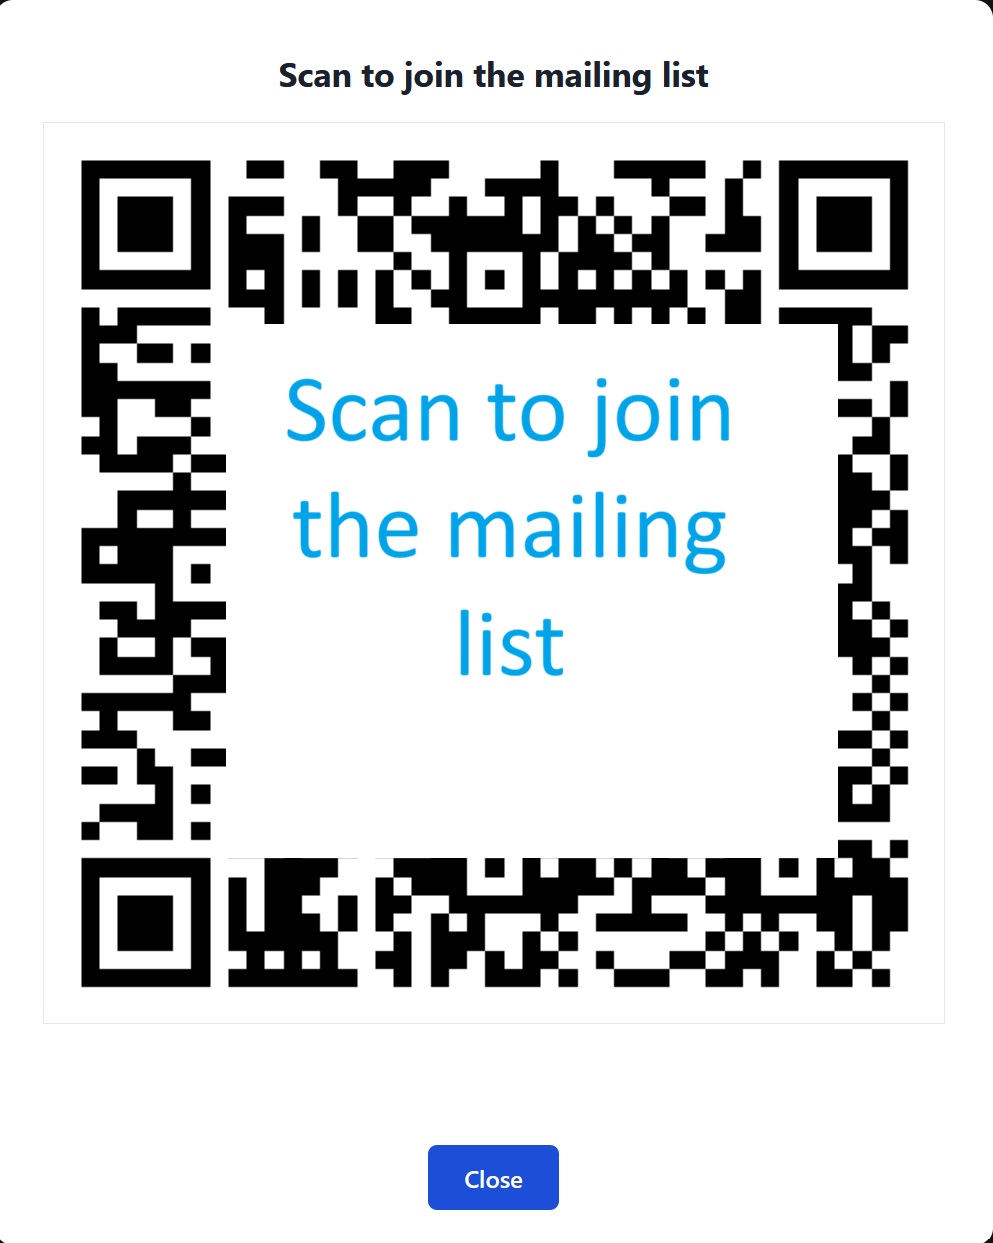
Scroll down to Product requests QR (booth display), Mailing list QR (booth display), or Custom order requests QR (booth display) depending on which form you set up. It shows the URL with a fullscreen-QR button beneath. Tap the button. The QR fills the screen.
Point a different device (your phone if the app is on your tablet, or a tester's phone) at the QR. Confirm the camera reads it and offers to open your form URL. Tap to open and verify the right form loads.

That's it. You can re-run "Create/Update Form" any time to refresh fields without creating a duplicate; the URL stays the same.
The custom path: build your own form
If the auto-created form doesn't fit your needs (you want specific fields, branching logic, a different look), build your own in Google Forms and tell fiveanddime where to find it.
Create your Google Form
Go to forms.google.com and create a new form. Keep it short: fields that take more than 30 seconds to fill at a booth lose people. Suggested:
- Name (required, short answer)
- Email (required if you'll email; short answer; turn on "Response validation" for email format)
- Phone (optional, short answer)
- What you're interested in (optional, short answer or paragraph)
Title the form something the customer will recognize ("Wooden Doodle Mailing List" or "fiveanddime Product Request Form").
Get the published form URL
In Google Forms, tap Send at the top right. In the Send dialog, click the link icon (chain link). Copy the URL shown. It looks like https://forms.gle/XXXXXXXX (short form) or https://docs.google.com/forms/d/e/FORMID/viewform (long form). Either works.
Open the URL in an incognito / private window before going further. Confirm the form loads and accepts a test submission. (You can delete the test response later in the Responses tab.) Catching a permission or sharing issue now saves a confused customer at the booth.
Add the URL to your Settings sheet
Open your spreadsheet's Settings tab. Add a row:
- Key:
PRODUCT_REQUEST_FORM_URL(for product requests),MAILING_LIST_FORM_URL(for the mailing list), orCUSTOM_ORDER_FORM_URL(for custom order requests). - Value: the form URL you just copied.
- Help: optional note for yourself.
If you're setting up more than one, add a row for each key. The keys are independent.
Then Pull from Backend Now in the app and verify the QR as described in Step 3 of the easy path.
Showing the QR at the booth
At an event, two ways to display the form:
- On your booth-display device. If you have a tablet or phone sitting on the table specifically for customer interaction (price list, photos, whatever), open Settings → Product requests QR → tap fullscreen. The screen is now a "scan to sign up" sign for the duration of the event.
- Print it. Tap fullscreen on the QR, screenshot the screen, print on cardstock or in a frame. Use this if you don't want to dedicate a device. The printed QR points at the same URL forever (as long as you don't delete or move the form).
For the printed version, also include a small label like "Scan to join my mailing list," "Scan to request a product," or "Scan to request a custom order" so customers know what they're signing up for. The QR alone doesn't explain itself.
Custom order forms outside an event
Custom order requests are the one form you'll probably use most often between events. Two common patterns:
- Send the link. When someone DMs, emails, or texts you about a one-off, reply with "Mind filling out this quick form? It just helps me get the details straight." Paste the URL from
CUSTOM_ORDER_FORM_URL. The form's a one-pager; most people fill it out in two minutes. - Add it to your website. If you have a personal site or shop page, link the form URL on a "Request a custom order" page or button. Same form, same responses sheet — works equally well for booth walk-ups and online inquiries.
Once you get a submission you want to take on, open the in-app Custom Orders screen to record the accepted order and take a deposit. The form captures the lead; the Custom Orders screen turns it into an order.
Reading submissions
The form's responses live in Google Forms by default; fiveanddime doesn't read them directly. You have two paths to see what came in.
Direct in Google Forms
Open the form in Google Forms and tap the Responses tab. New entries appear in real time. You can star, archive, or delete individual ones. Works fine if you only check submissions occasionally.
Linked to a Google Sheet (recommended for active use)
Better for ongoing management: link the form's responses to a Google Sheet so they become spreadsheet rows you can sort, filter, export, or use in formulas. Two flavors of linking, depending on where you want them to live.
Link to a new dedicated spreadsheet
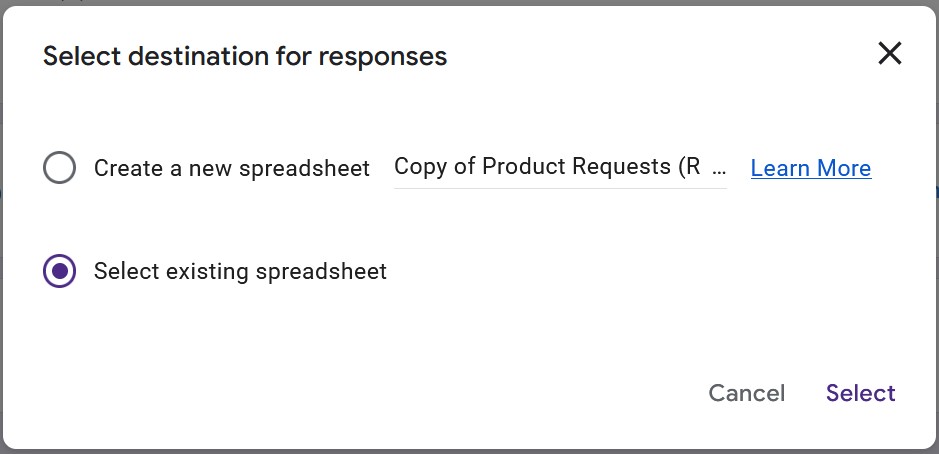
In Google Forms, tap the Responses tab. In the top-right corner of the Responses pane, click the green Sheets icon. A "Select destination for responses" dialog opens. Choose Create a new spreadsheet, accept the suggested name (or rename, e.g., "Wooden Doodle Mailing List Responses"), tap Create. A fresh spreadsheet appears in your Drive with the form's responses on a tab named after the form. New submissions auto-add as rows from now on.
Link to your existing fiveanddime spreadsheet
If you want everything in one place, link the form responses as a new tab inside your existing fiveanddime workbook. Same picker: in Google Forms → Responses → green Sheets icon → "Select destination for responses." This time, choose Select existing spreadsheet instead of Create new. Browse to your fiveanddime workbook (the one with Products_Master, Events, Sales, etc.), tap it, tap Select, tap Insert. A new sheet tab appears in your fiveanddime workbook with the form's responses. New submissions land as rows on that tab automatically.
Why bother linking to your existing workbook instead of a new one:
- Everything in one place. Open your fiveanddime sheet, your form responses are right there alongside Sales, Events, Products_Master.
- Backed up automatically. Your daily auto-backup snapshot includes the response tab.
- Can be referenced from formulas. Want to mark which mailing list signups have also made a purchase? Write a VLOOKUP from the Sales tab into the responses tab.
- One less spreadsheet to remember.
Rename the new tab if you want (right-click the tab → Rename, change "Form Responses 1" to "Mailing List" or whatever). Add filter views, conditional formatting, helper columns to the right of the form's columns; the form linkage still works. Don't delete the tab or rename the form-generated columns while the form is still linked, or new submissions stop appending.
Exporting for an email tool
For mailing list integrations with services like Mailchimp, Substack, or ConvertKit:
- Open the response sheet (the standalone spreadsheet from path A, or the linked tab in your fiveanddime workbook from path B).
- File → Download → CSV.
- Import the CSV into your email tool. Most tools have an "Import contacts from CSV" path under audience or list settings.
Some tools also offer direct Google Forms integrations that auto-add submissions; check your tool's docs.
Practical tips
- Keep the form short. Every required field is a friction point. Name and email is enough for most signups.
- Don't ask for what you won't use. Phone numbers are tempting but most craft vendors never call. Skip unless you'll actually use it.
- The form URL doesn't change when you edit the form. So you can tweak fields anytime without invalidating the QR or printed signs. Don't delete the form, though; that invalidates the URL.
- Multiple events, same form. The same QR works across every event. No need to recreate per fair.
PRODUCT_REQUEST_FORM_URL, MAILING_LIST_FORM_URL, or CUSTOM_ORDER_FORM_URL (any combination) are set in your Settings sheet. The fullscreen QR section in the app shows the URL and renders a scannable QR code. You've verified end-to-end that a scan opens the form.