The basic flow
The shape of every sale: customer walks up, you tap their items into the cart, they pay, you hit Complete. Maybe 15 seconds for a simple sale. Here's each piece in order.
Make sure the right event is active
The top of the screen has three chips. The middle one shows the currently selected event with its name and date. If it's the wrong event, tap it to open the event picker, then pick the right one. Sales record against whichever event is active when you hit Complete.
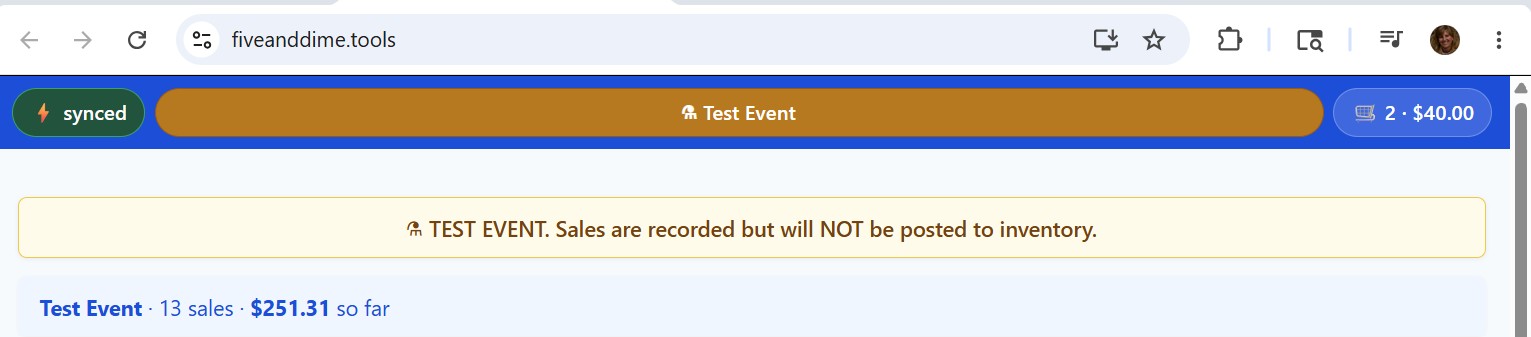
If you're at a real event, also confirm it's NOT marked as a test. Test events show an orange chip and a soft warning banner across the top of the cart. Sales rung against a test event won't decrement your real inventory.
Tap items into the cart
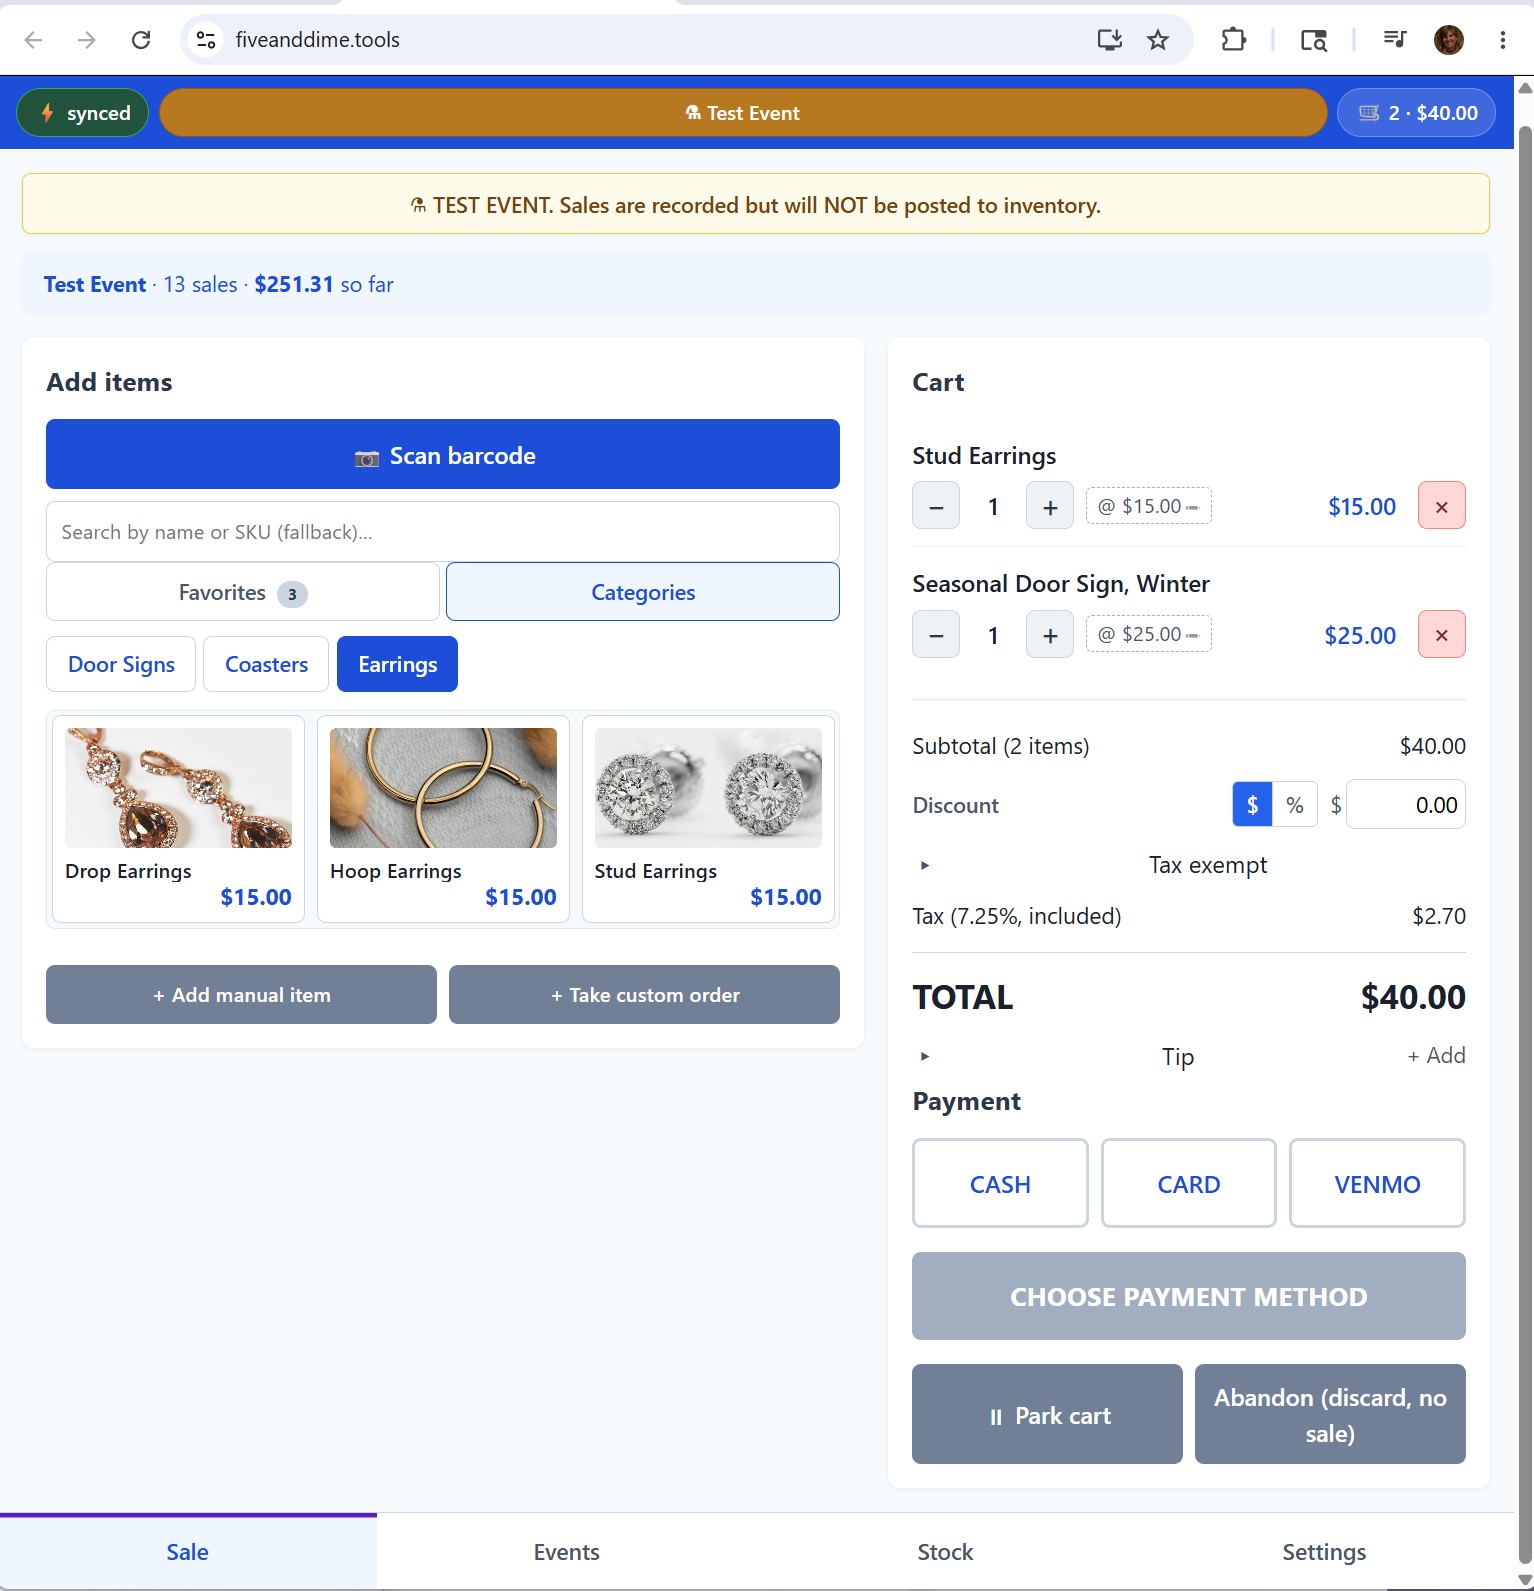
The Sale view has two panes: items on top (or left, on tablet), cart on bottom (or right). The items pane has two tabs:
- Favorites. Your highest-volume products, in the order you set with FavRank. Best when you have a handful of regulars you ring constantly.
- Categories. Tabs across the top split your catalog by Category. Useful when you have variety.
Tap an item once to add it to the cart. Tap it again to add a second one. The cart updates immediately and the running total recalculates.
If a button shows a small "▸" with a number (e.g., "4 ▸"), that means it's a parent product with variants. Tap it to open the variant chooser; pick the variant the customer wants.
Adjust quantities in the cart
Each cart line has a quantity, a small minus button, and a small plus button. Tap minus or plus to change quantity. Tap the red × to remove the line entirely.
If a bundle rule applies (say, "Coasters, 4 for $20"), it auto-applies as soon as the cart has enough eligible items. You'll see a bundle row appear in the cart with the savings amount and a purple-tinted background on the bundled lines.
Pick the payment method
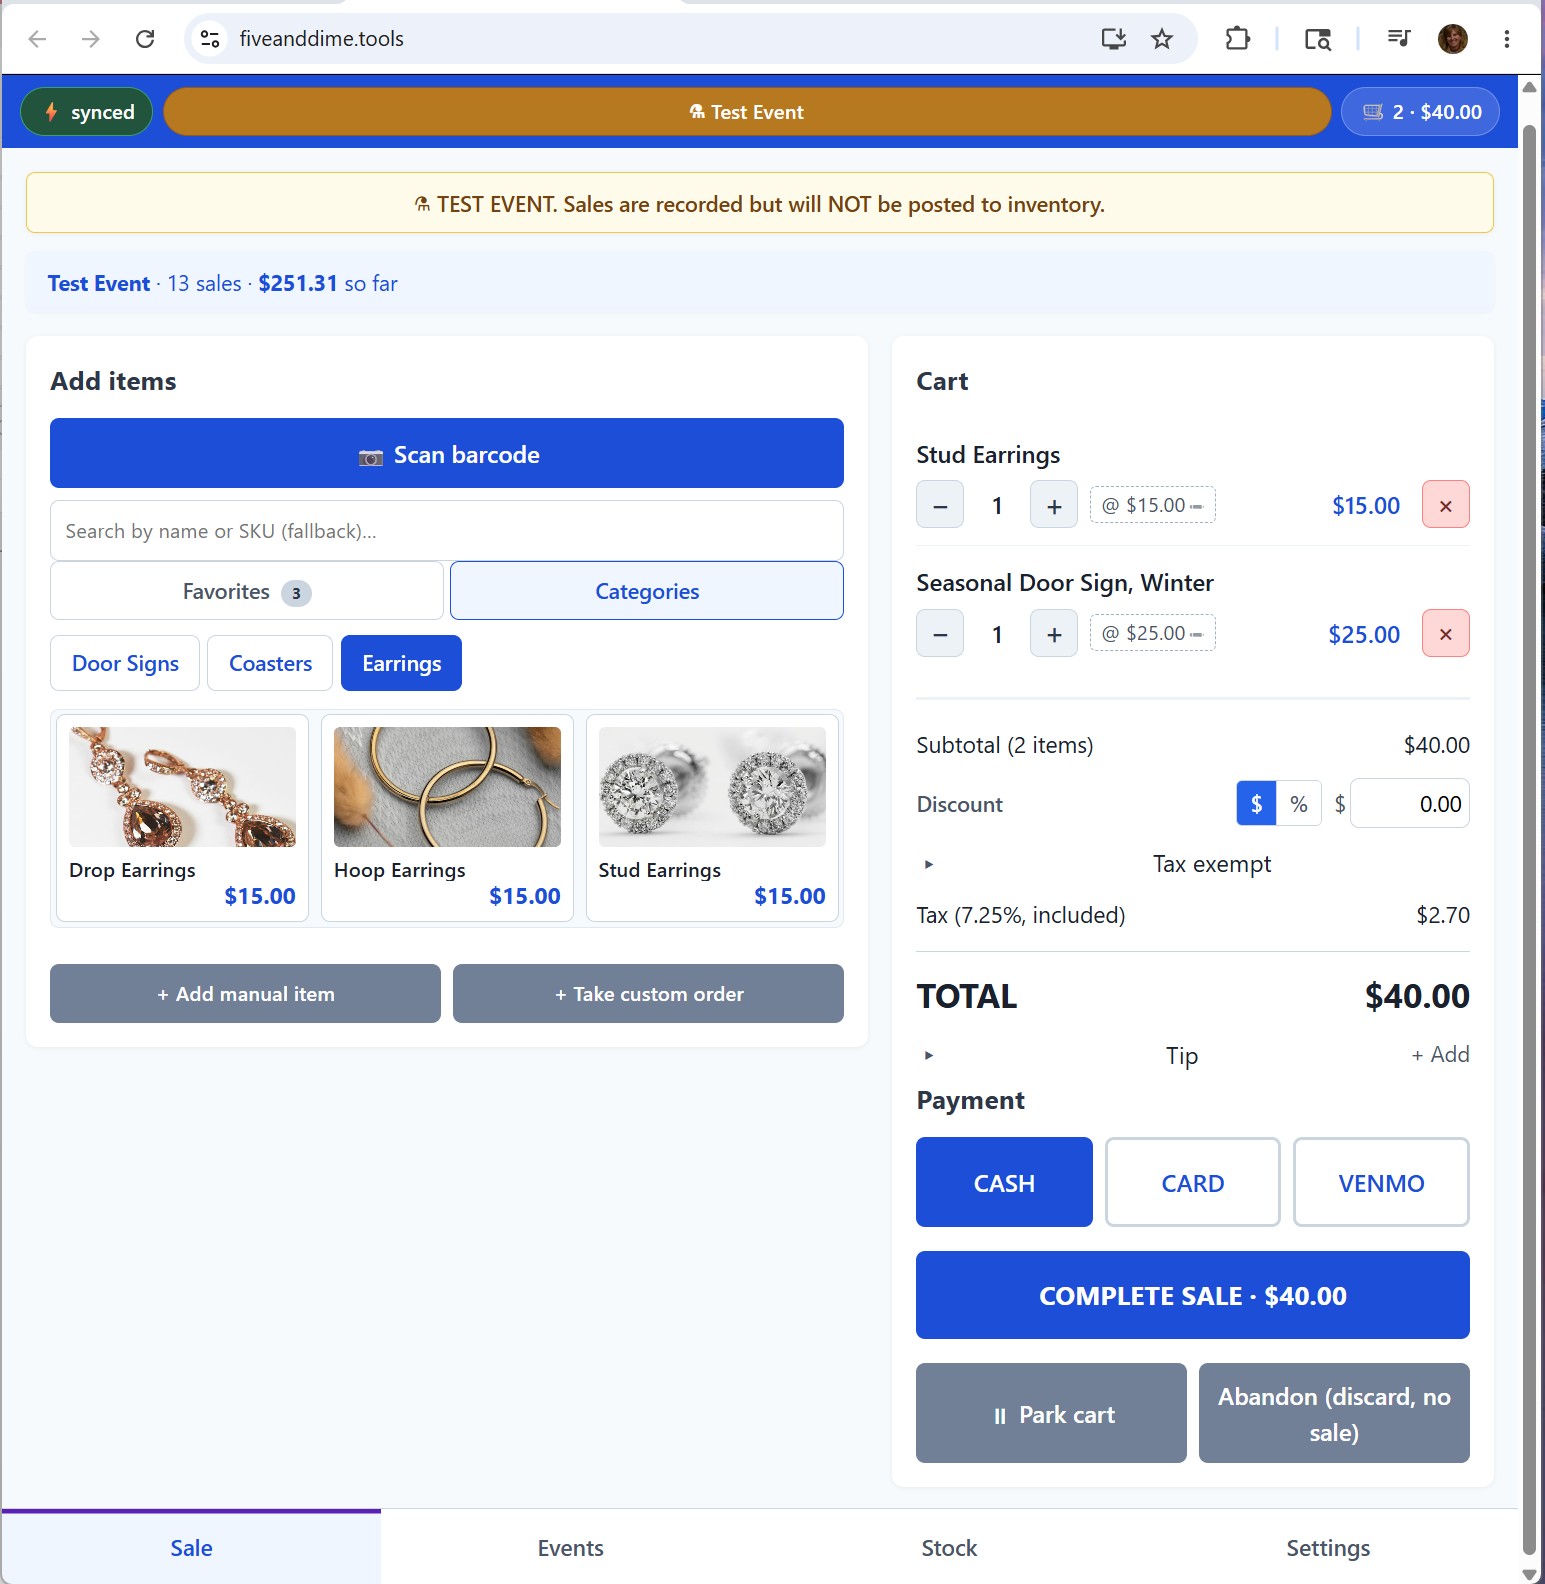
Below the cart total, you'll see payment buttons: Cash, Card, Venmo. Tap whichever the customer used. (Other payment methods can be added in Settings if you also take Zelle, PayPal, ACH, etc.)
The customer's actual payment goes through whatever tool you use for that. fiveanddime just records which method they paid with for your books.
Square users: there's an optional one-tap card flow that hands the sale to your Square app, total pre-filled, and records back automatically. See Card payments through Square.
Complete the sale
Tap the big Complete sale button. The sale records to your spreadsheet (or queues locally if you have no signal), a status message flashes briefly to confirm, and the cart clears for the next customer. Done.
If the customer wants a receipt
Two ways to get the QR up:
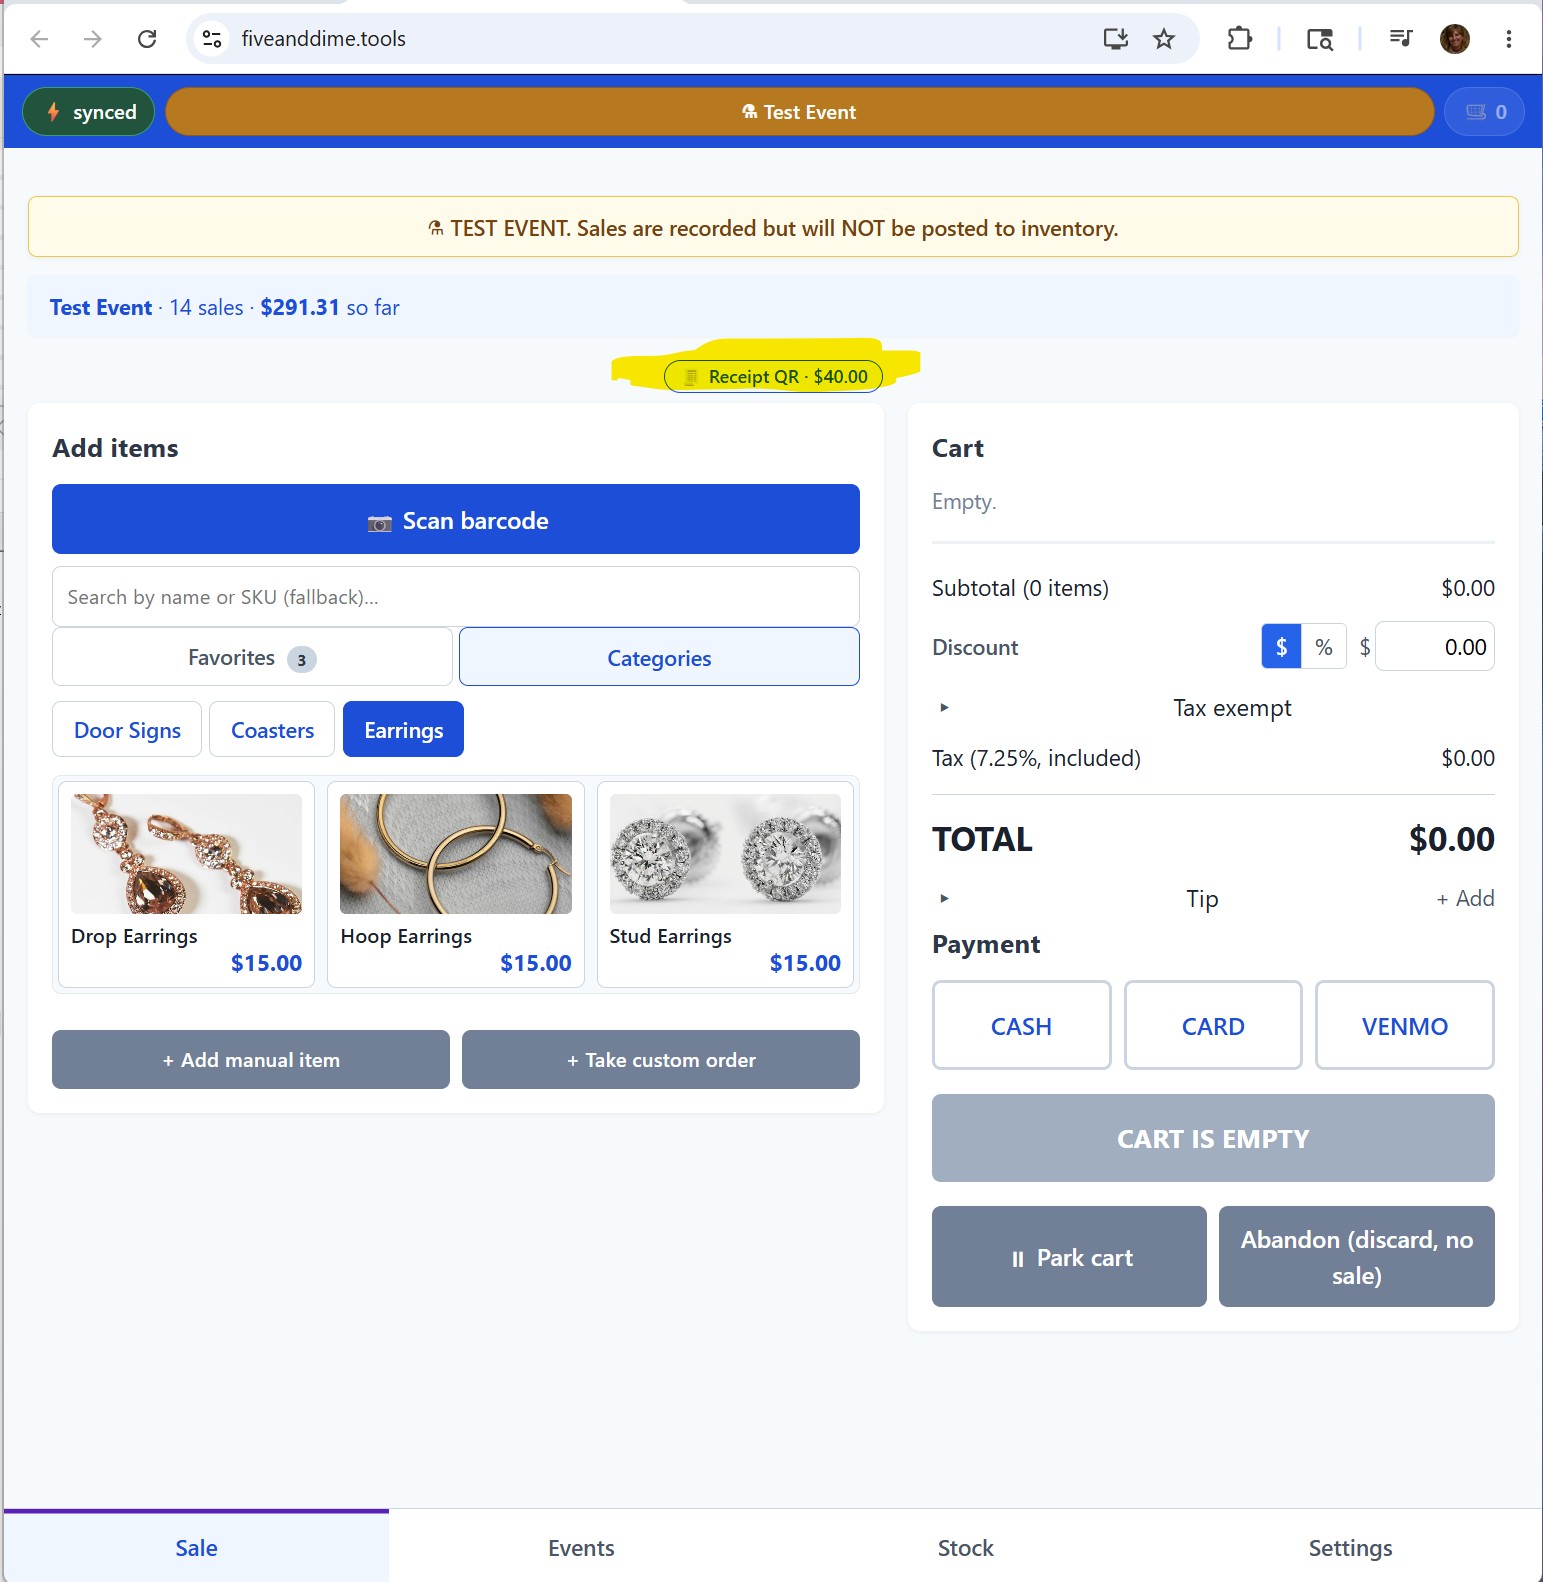
The fast way (right on the Sale view). After Complete sale, a strip appears just under the Items/Cart tab switch reading 🧾 Show receipt QR for last sale ($X.XX). Tap it. The QR modal opens. Point it at the customer's phone camera. They scan, the receipt loads on their phone, they can email or screenshot it themselves. The button stays available until the next sale completes (at which point it switches to that sale) or until you close the app.
The other way (Events tab). For any older sale, switch to the Events tab on the bottom nav, find the sale in the list, tap the 🧾 Receipt QR button on its row. Same QR modal.
Either way: no paper, no email entry, no receipt printer needed.
Pick event, tap items, pick payment, Complete. Most of your sales will be exactly this. The next two steps cover the features that matter when sales get more complicated.